Create a workspace
Description
Data is stored in a workspace and made available to selected users so thatthey can work together.
Details
easydoo user Moritz Müller already has access to the work surface of his shop («Treuhand AG») and would also like to use easydoo privately and in association. Since the areas are legally independent, he is creating two additional work surfaces, one each for "Familie Müller" and for "Volleyball-Club Supersmash". In the private work area only people of his family have access, in the work area of the association all board members and functionaries.
When a user registers with easydoo, he must create a first workspace with the registration process (see How can I register and set up an easydoo account?). If the user already belongs to a work surface, he can create additional workspaces. When creating a canvas, the user must select an easydoo plan. The plan determines the range of functions that are available within this workspace. The corresponding license fees will be charged monthly or annually, depending on the agreement.
Step-by-step instructions
- If you are already logged in to easydoo, you can create a workspace by clicking on the desktop selection at the top left of the app.
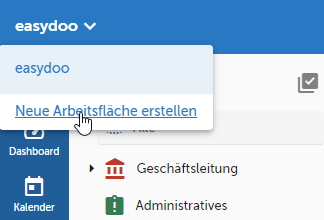
Fig. 1 - Create a new workspace
- You click on «Create new workspace» (see Fig. 1).
- Select a name for your workspace (e.g., «Treuhand AG») and confirm with «Create» (see Fig. 2).
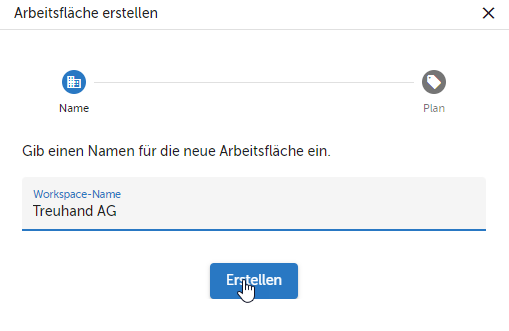
Fig. 2 - Select the name of the work surface
- Next, you can choose your team size. If you take the Free package, you can select a maximum of 5 users and click on «Start now». If you want to get even more out of easydoo, select the Basic or Standard plan. Here, the team size and billing periodicity can be flexibly adjusted. Then confirm with "Free trial" to work for 30 days free of charge with the corresponding plan (see Fig. 3).
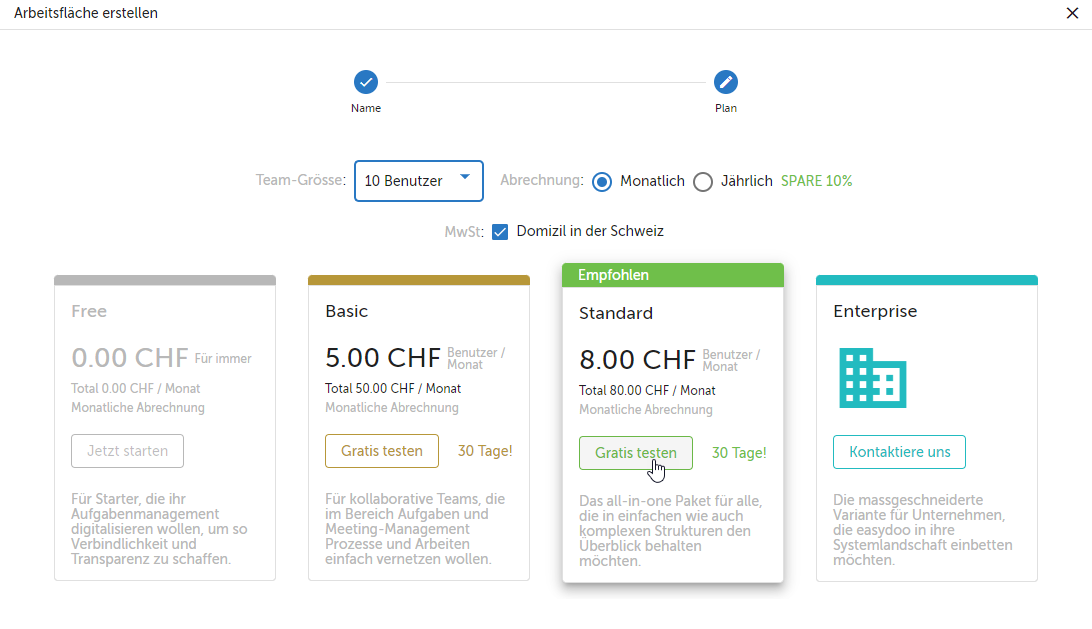
Fig. 3 - Select the plan
- If you have selected a paid plan, you will need to provide your credit card details so that the subscription price can be charged at the end of the trial period. In the left pane you can see the amount that is due after the trial period. On the right, enter the map data and then confirm with «Start test» (see Fig. 4).
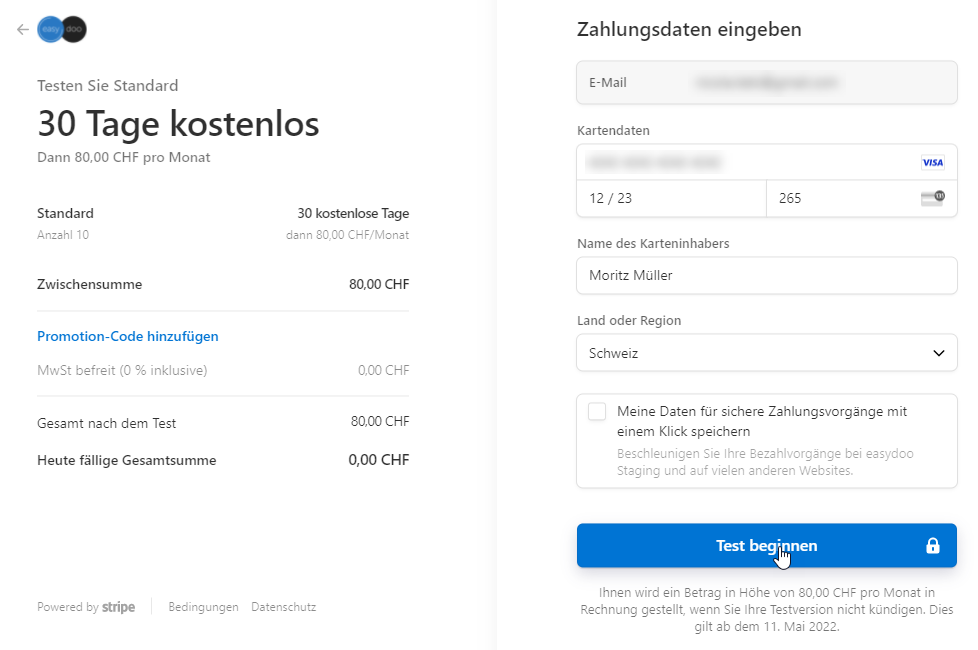
Fig. 4 - Provide payment information
Tips
In any case, we recommend that you create only one workspace per company so that your team achieves the maximum benefit of collaboration and planning. If you want to differentiate by department, you can define access rights accordingly via an individual folder structure.
Reprimands
Customer support service by UserEcho